
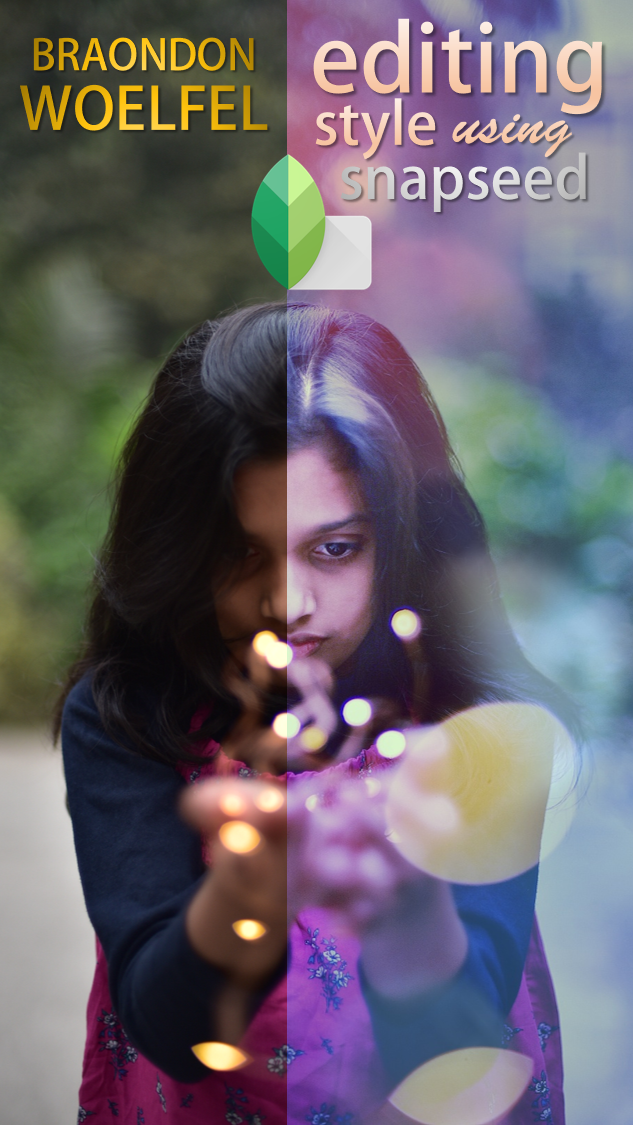
7 steps to a Brandon Woelfel Style Edit - using Snapseed on your smartphone.
- Nov 19, 2017
- 7 min read
WHO IS BRANDON WOELFEL
If you have used Instagram recently and explored it somewhat, you may have come across some beautiful images by Brandon Woelfel - his Instagram account has over a million followers and it's easy to see why. His images are dreamy and almost awe-inspiring. He shoots with wide open apertures and I personally believe he's a grand master of Bokeh!
One thing that pops out of his masterpieces is the interesting use of colors and not just the shallow depth of field.
If you follow his account (which I'm hoping most of you will after reading this) - you'll be exposed to some before and after images in his daily stories and it will give you an idea of how Brandon Woelfel starts with (mostly but not always) under exposed images and with a few minor tweaks here and there, he presents to you something epic.
Now keep in mind, Brandon Woelfel probably does all of his edits using camera raw images in a software such as Lightroom.
EDITING WITH SNAPSEED ON YOUR SMARTPHONE
However, some people nowadays have DSLR cameras equipped with WIFI that enables them to transfer the files directly to their smartphone for quick upload onto their social feeds such as Instagram.
If you're looking for such cameras, may I suggest a slight detour to this link where you can find the The 7 Best WiFi Cameras to Buy in 2017.
Smartphones today are more powerful then the super computers of yester-years that put the first man on the moon.
So while you might not be leading your next intergalactic exploration with your Samsung S8 or iPhone X, you could still be using that machine for some awesome editing.
Introducing my favorite editing app on a smartphone, I present to you SNAPSEED - for both Android and iPhone.

This app is more powerful than you can even fathom. In this step by step guide, I'll only cover the basics of how to editing images to give them a Brandon Woelfel style effect, but trust me, once you start using this app, you will probably delete everything else that you currently have stored on your phone.
STEP BY STEP GUIDE FOR A BRANDON WOELFEL STYLE EDIT
While most of you can simply watch the video that I have made for this tutorial, in case you're busy and you want to get a grasp of this quickly, you can go through the below menu guide that I have prepared for a basics.
Disclaimer: the steps that I have taken are by no means the only way to achieve the required effect that Brandon Woelfel uses in his photography, but I have tried to show you how I would do the edit using Snapseed.
Also, while I do believe Snapseed is a great and powerful app, to get the best performance out of it, I would suggest that you edit your RAW files in Snapseed, which will give you more control over the end results. You can take a look at this tutorial on how to import RAW files into Snapseed.
Now with that out of the way, let's get down to the steps that I used in my editing of the photo from some basic and underexposed to a Brandon Woelfel style dreamy and bokehalicious.
STEP ONE - fix the details before you continue.
Before I start working on the actual editing related to the Brandon Woelfel style, I begin with getting some sharpness into the image. For me, it helps to get some more impact into the image - especially if I'm going to upload it on to Instagram.


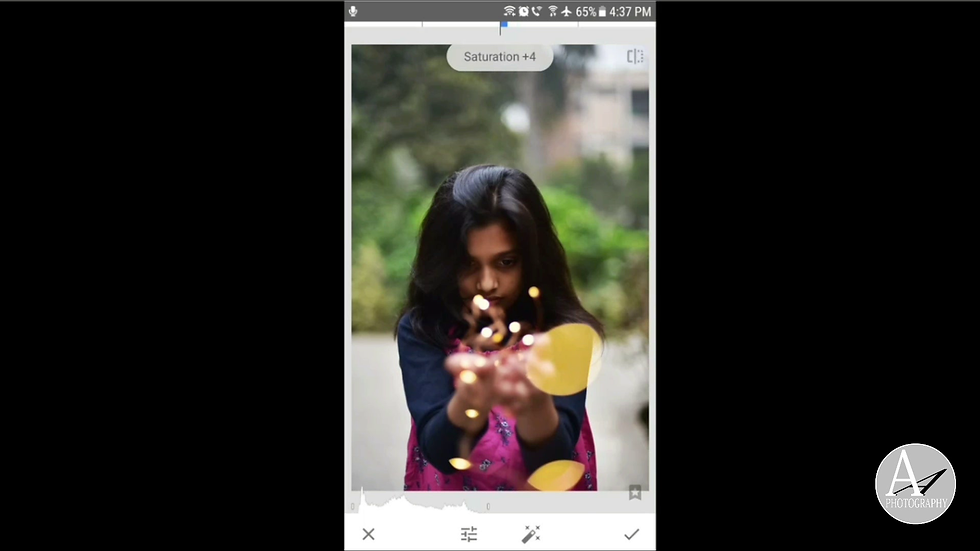
STEP TWO - Fine tuning
This is where we start with the edit we're hoping to achieve at the end. Now depending on the under exposure or over exposure of the image you're going to try and convert into a Brandon Woelfel style edit, the values for each step shown below will vary drastically. So just try your more of what suits you best at this stage.
Having said that, I am going to show you each edit as I did it for my image here in images below.


STEP THREE - White Balance
This is where the style really comes together. Brandon Woelfel likes to play with colder tones and lighter hues in his photography. The idea is to try and get close to that effect using the changes in white balance.
As you can see that the image that we started with is warm (more in the reds) but in Brandon Woelfel's images you will notice the use of blue color tones and lighter shades. Since we've already managed to fix the image from an exposure point of view, we're ready to start with the change in color tones.


STEP FOUR - Brush tool to fix the under exposure of the face
By now you would have already started seeing a change towards the Brandon Woelfel style. We now have to fix the underexposure on the face to enable us to see the expressions.
In Snapseed, there are many ways of fixing under exposure, but for the purpose of this particular tutorial I found it easier to use the brush tool - it gives you a lot of control and frankly it's easy to use on selective areas.


STEP FIVE - Edit the Curves
Brandon Woelfel's effect is interesting in one aspect that it actually has less of the dark tones in it. It's ironic because to get his style of photos, you have to shoot the image mostly under exposed (which means a lot of dark tones) but then in the editing part, you have to kill the blacks.

To use the tone curves properly, first add two points on the curve, one near the top right and one near the bottom left. The try to apply the curve in an S shape as shown below. The change in the curve at the bottom reduces the blacks in the image and the curve at the top increases / changes the whites.

You can do this for all the dark tones in the image as shown above or you can do this for specific tones within Red, Green or Blue, as I did additionally below but just for the reds.

STEP SIX - Adding double exposure (i.e. bring in the BOKEH)
It's not always easy to have a lot of bokeh in your image to begin with, even if you are shooting with a wide open aperture. This can be due to your location, or the amounts of lighting in the background that you want to blur and tons of other factors. (if you want to know what Bokeh is - click here)
So in some cases it might be worth adding bokeh in your 'almost' final image. This is probably what Brandon Woelfel does as well - but I can't be sure that he does this in every photo.

Before you do this step. You will need to search Google for some interesting bokeh images that you would like to use in your edit. Look for an image that is made up of blurred sources of light without any other elements or people in it - otherwise this double exposure effect will not work too well.

Firstly, as shown above, click on the image icon with a "+" sign on it and download the image that you have selected from the internet. I chose a multicolored one as you can see below.

Once you have added this image to your original image, play around with it's size, its positioning and even opacity to get the desired effect you are looking for. In my case, I made the image slightly bigger and I also reduced the opacity a bit and rotated it counter clock wise. The final look can be seen in the image below.

STEP 7 - Remove the double exposure from unwanted areas
Now this is where we have some extra fun with the editing power of Snapseed. As you can see in the image above, the double exposure effect is also effecting the face. Now you could use the blending modes from the double exposure option to help fix this somewhat, but this would effect the opacity on the rest of the image.
Snapseed allows you to go into all the editing steps that you've done and then brush in or brush out the steps according to your need. For me this is by far the strongest benefit of Snapseed, which I have not seen in any other smartphone app so far.
To do this, you will have to first view the edits, which you can do by clicking on the top right stack of paper icons with an arrow over it going from right to left (as seen in the image below) and then clicking on view edits.

You can now see all the steps you've taken in making your Brandon Woelfel style image and you can practically go back to anyone of them to change whatever you would like.
In our case we will click on the Double Exposure icon and then on the central icon of a brush that pops up - as seen below in the screenshot.

Now just use your finger to cover over the image once again and wherever you touch the screen that is where the double exposure image will be masked in. You can choose different brush intensities as well in multiples of 25 (from 0 to 100) as seen in the below screenshot. By using this technique you have successfully avoided covering the face with the extra bokeh image that we downloaded and used as double exposure.

And that's it. You're done. You converted a simple under exposed warm style image into a Brandon Woelfel style masterpiece with dreamy colors and enough bokeh to tame the savage beast - and all of that in just 7 steps!
If you liked this blog, please consider sharing it on your social feeds and subscribed to the blog and my YouTube Channel.
Follow me:
Instagram: Adeel Ansari Photography
Facebook: Adeel Ansari Photograhy


Comments